What to Photograph
Clear photos can make a world of difference in diagnosing a problem. We love it when garden questions are accompanied with photos.
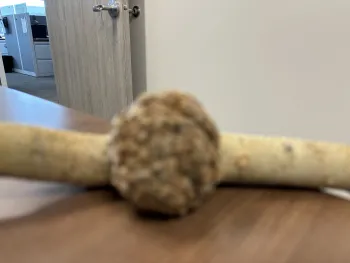
Most Important: Please check that photos are in focus before sending them in.
 |  |
Completely dead plant material is seldom useful. Try to show what the symptoms are while they are in progress. Close up and overall views are helpful. The pattern of damage is also very important.
If you don't know what kind of plant you have, take enough images that it can be identified as well. Many plant diseases are specific to a certain type of plant so this information is very helpful. If you know the plant, be sure to share that information along with the images.
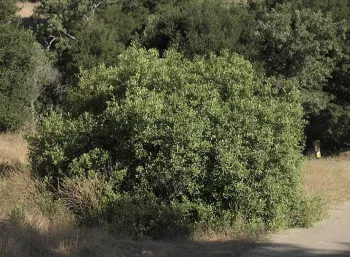
Plant Identification Pictures: "What is this plant?"
 | 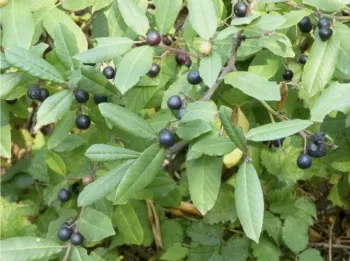 |
- Leaves, not leaflets (tell or show attachment)
- Fruit or flowers
- Overall form and site
- As text, provide where it is growing, size, or other information
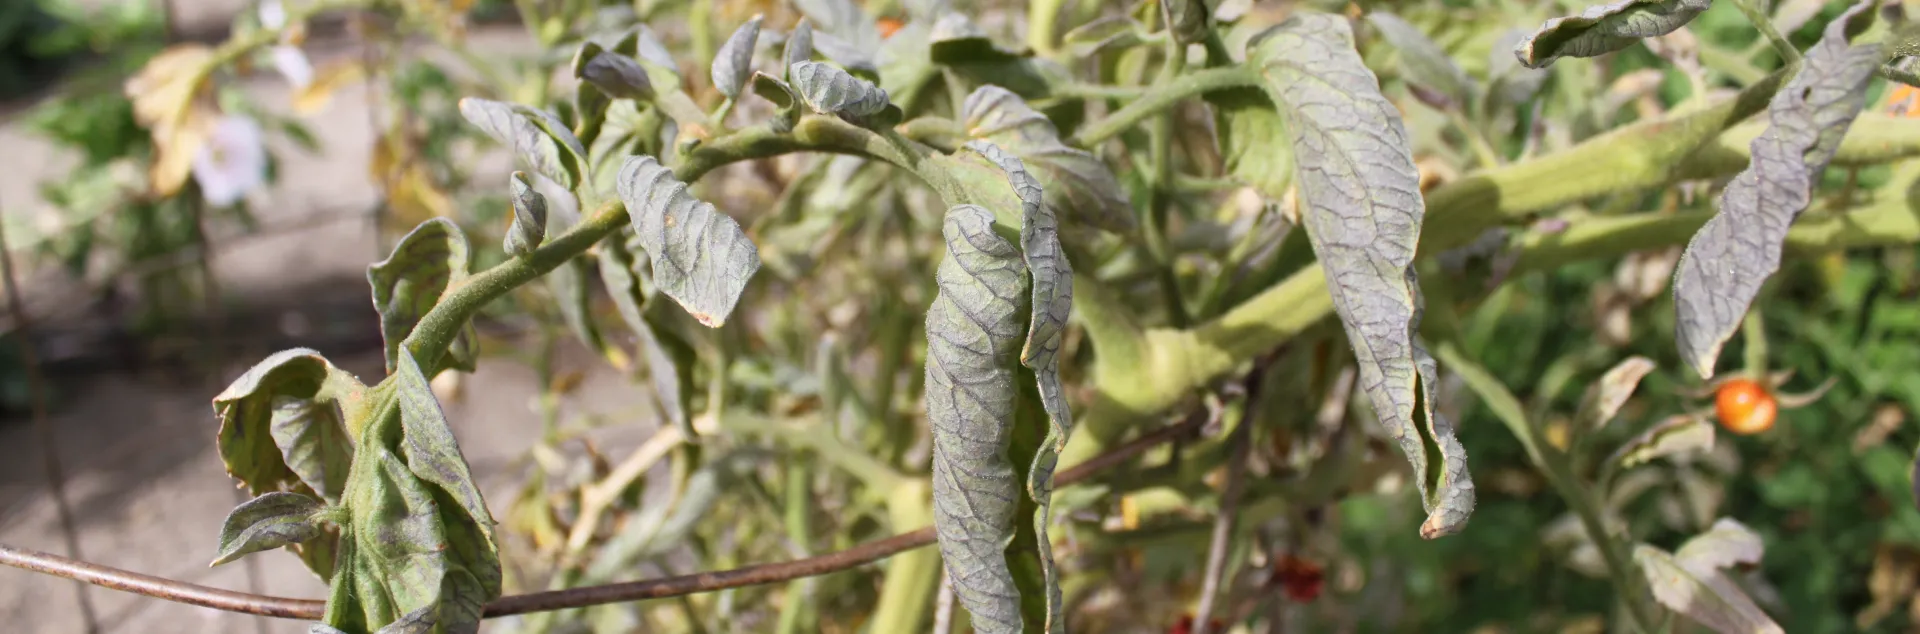
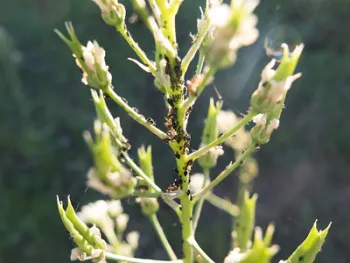
Pest/Disease Pictures: "What's killing this plant?"
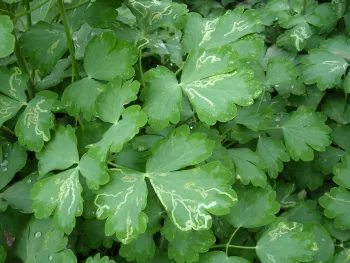
- Symptoms
- Close-up of critter if possible
- Transition from healthy to sick
- Get closer, smartphones can get very close imagery
- Environment or landscape where the plant is
- Pattern of damage - if lawn photograph the area around the damage
- As text, identify the host plant and describe the time period
Getting a Good Exposure
On cheap cameras and smartphones, bright light allows:
- Faster exposure (freezes motion)
- Smaller aperture (more depth of focus)
- Better contrast (easier to find focus)
Tips for better exposure:
- Outside in bright light: use a reflector to light shadows. Alternatively, get close and force the flash to fire: set to ON with the lightning bolt icon.
- Too much glare on a surface?
- Use a reflector -- even aluminum foil taped to a piece of cardboard is good; more light may even out the light
- Use a diffuser, screen or cheesecloth for shade
- Try (clean) polarized sunglasses in front of the lens; rotate glasses as needed to reduce glare
- Take the shot from a different angle
- Sick leaf or pest in shadow? Remove the leaf and bring it into brighter light or indoors into a bright room.
- Place a leaf on sky blue or grey paper to help your camera meter correctly. Or use spot metering (touch screen) and adjust exposure manually.
- Car window reflectors work well to reflect light. A portable reflector set with diffuser can be purchased for about $15 online.
- Try taking pictures as a team!
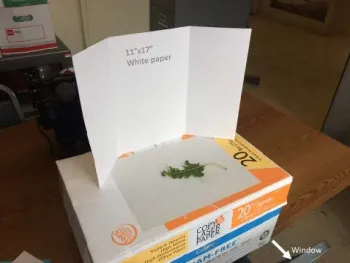
Good Indoor Office Lighting Setup During Daylight Hours
Getting Sharp Images
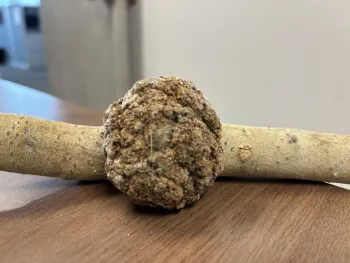
- Make sure the subject is in focus before sending pictures. Review them first.
- Tell the camera what to focus on if it can’t decide.
- Focus is more important in close-ups.
Reduce camera shake:
- Hold arms and elbows close to your body
- Lean against a stable object
- Hold your breath when clicking the shutter
Reduce subject blur:
- Shoot in brighter light
- Remove the leaf and set it on something stable
- Have a partner hold the subject
- Avoid shooting in windy conditions
Background
Place leaves on a clean background:
- Gray paper is very good. This will result in the best exposure. (Ideally 18% gray, but don't fuss too much about it.)
- Avoid colored backgrounds as these may affect white balance. If you have to use a color, use sky blue.
- Get a good contrast between the subject and the background.
- If your phone has a portrait mode that makes the background blurry, don't use it. The blurred background is nice, but the AI that generates it sometimes blurs important stuff in the subject. If you're close to the subject, the background will blur naturally.
- White and black are poor choices as they will affect the metering. If using white, bump up the brightness. Reduce brightness with black background.
- Brown, recycled napkins are better than nothing
A sheet of poster board behind a specimen can help reduce background clutter and improve image clarity.