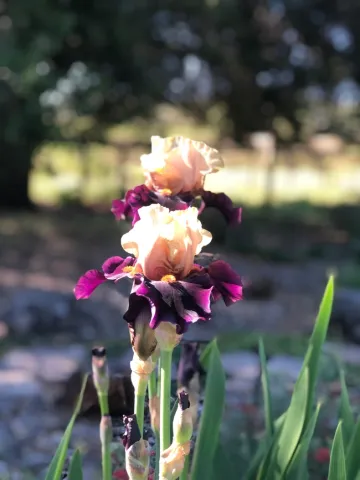
Irises
By Patty Smith UCCE Master Gardener
I purchased this iris a few years ago. Wow, has it been a pleasure—providing these enormous showy blooms for several seasons. Alas, the reliable iris has one drawback—it really needs to be divided periodically. Fall is here, the plant has just withered into dormancy, so now is the time.
Begin with a clean, sharp shovel. Move any groundcover away from the iris' tuberous “bulb” so that you can easily see it. The correct name for this plant's propagating part is rhizome. Plunge the shovel straight down, 6 to 12 inches away from the plant the rhizome's skin so it is not damaged. Because these grow at soil level, you won't need to go very deep before being able to lift the rhizome and the root ball.
After lifting the rhizomes, shake off any loose soil and rinse gently. This will let you see the plant clearly and inspect the roots for damage. Trim off any dead or damaged part with a clean, sharp tool and also trim the leaves, leaving about 6”. If any rhizomes are soft, discard those.
Now separate the individual rhizomes from one another. Typically they are only loosely attached to each other. Let the rhizomes dry out in a cool dark place, preferably in shavings to protect them. Once they're dry, find a new sunny spot where you'd like some color, and plant the iris at soil level, with the dry leaves sticking up and the top of the rhizome exposed to sun. Water well, wait, and reap rewards in a few months!
You can also read more about iris separating here:

